Navigating the UI
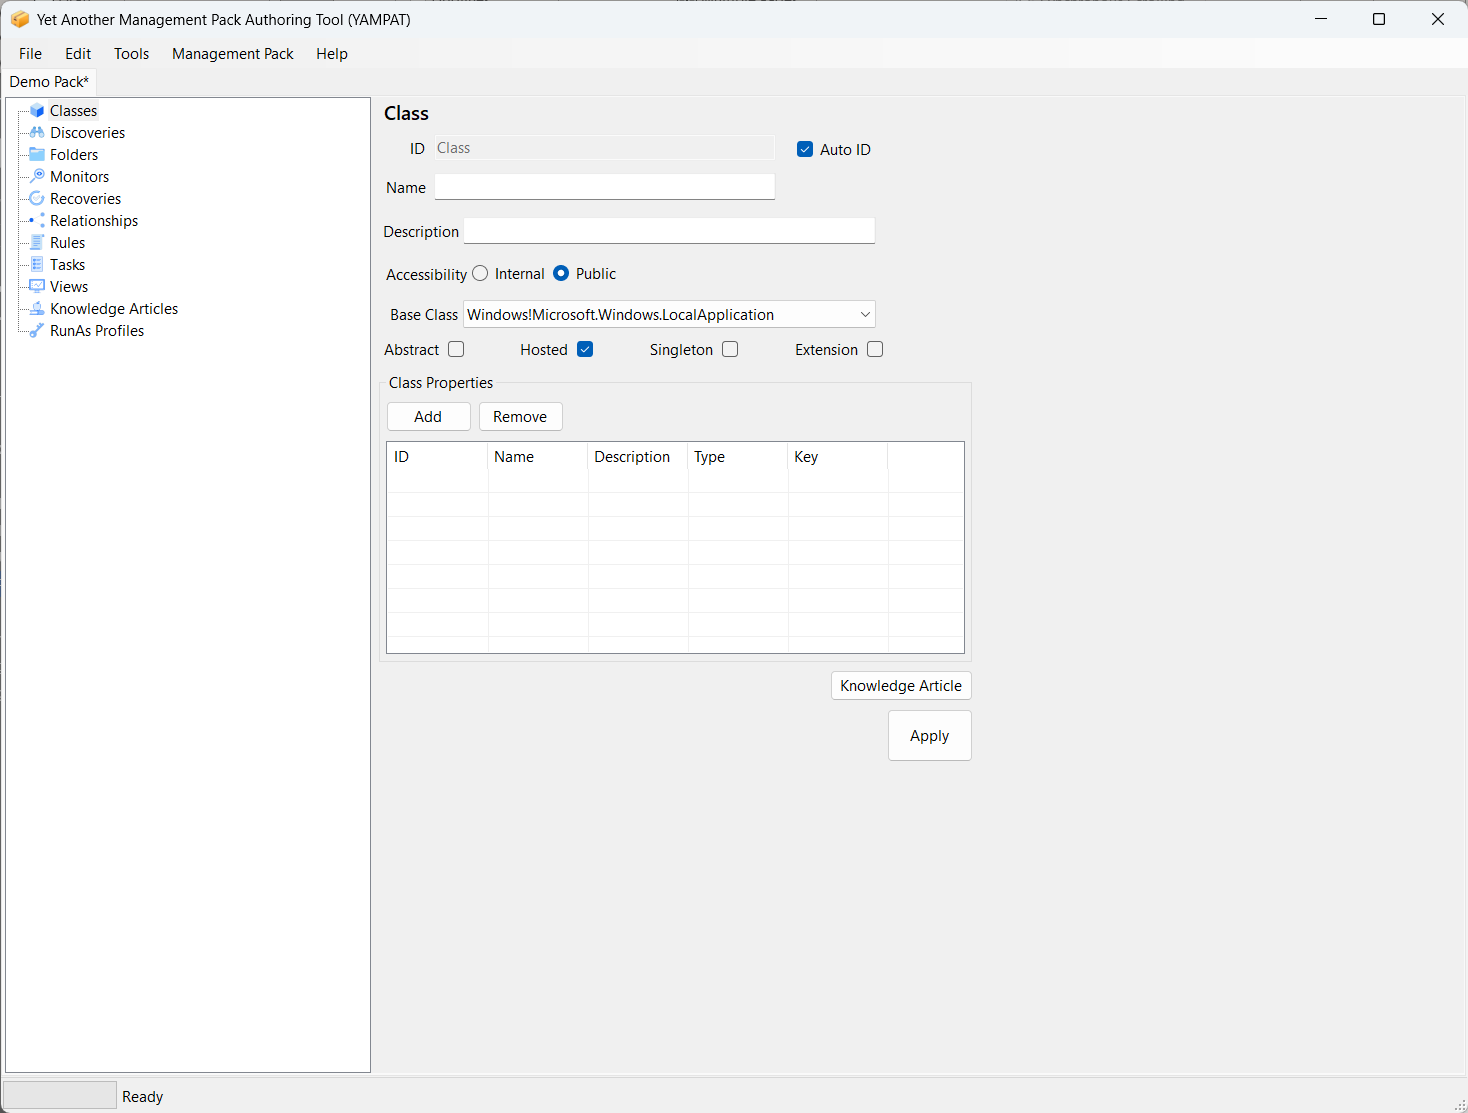
This section of the document explains the basics of navigating and using the YAMPAT interface. Below is an example of the full screen application.
Tab Navigation
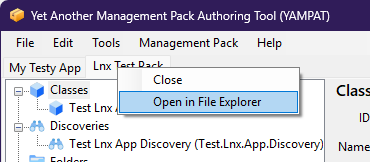
When a new pack is created or opened a new tab is added to the interface.
You may switch between any tab at any time, as many actions will be performed on the selected tab Management Pack.
Element Tree
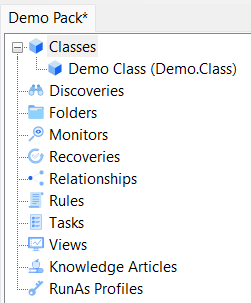
Each root node of the Element Tree denotes one of the common management pack element types. Child nodes of the Element Tree are elements of that type. The names displayed are in the format “Display Name (Unique.Element.Name)” so as to easily distinguish the elements.
Selecting the root node of an element type will display and clear the corresponding control to create a new element of that type. For example, selecting the Classes node, will display the Class panel and reset to the defaults for creating a new Class.
Selecting a child node element will display and populate the corresponding control panel for the selected element.
Element Editor
When an element in the Element Tree is selected, the corresponding control panel for the element is displayed.
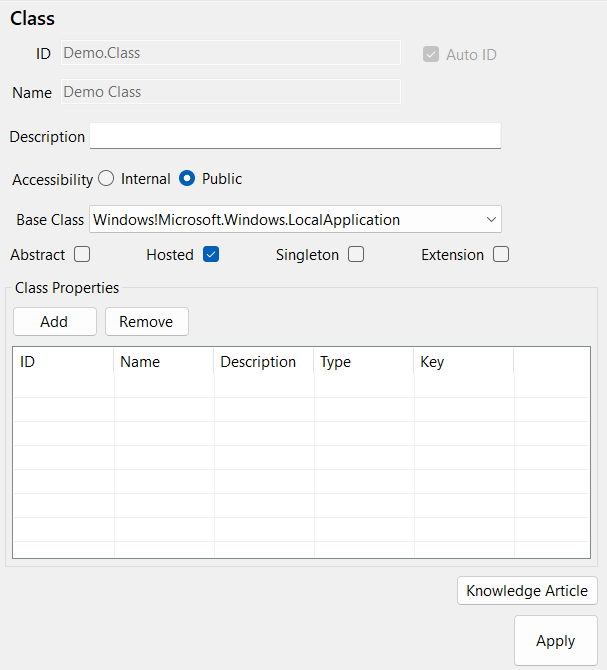
Most elements have a common set of data fields. An ID (Name), a Name (Display Name), Description, and sometimes the Accessibility.
The ID and Name fields are required. By default, entering the Name will automatically create the ID in a supported format. If you don’t like the automated name, uncheck the “Auto ID” check box and create your own. However, be aware of the naming restrictions for Management Pack elements before doing so.
The remaining options available will differ depending on the type of element selected in the Element Tree.
Some elements allow for the creation of a Knowledge Article. Clicking the Knowledge Article button from within the element panel will automatically transition you to the Knowledge Article panel for the corresponding element, whether it be a new article or an existing one.
When you are finished creating or editing an element, always remember to click the “Apply” button. This creates the new element or makes pending changes to the element using the SCOM SDK. It still needs to be saved for changes to persist. The reason for this that many management pack elements require others to be created in parallel in order to function. You may need to apply changes to multiple elements before you may actually save your changes. So, keep that is mind.
Menu Options
There are many menu options available in YAMPAT. This section will talk about the most relevant ones.
Management Pack Menu
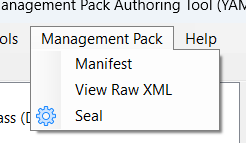
The Management Pack menu has three options.
- Manifest
- View Raw XML
- Seal
Manifest
Clicking Manifest will display the Manifest dialog for the currently selected Management Pack Tab. It displays most of the same information when creating the pack. It allows you to change the Description, Company Name, Version, and adding and removing references.
It also helps YAMPAT know which default options to use if your pack has both Windows and Linux components.
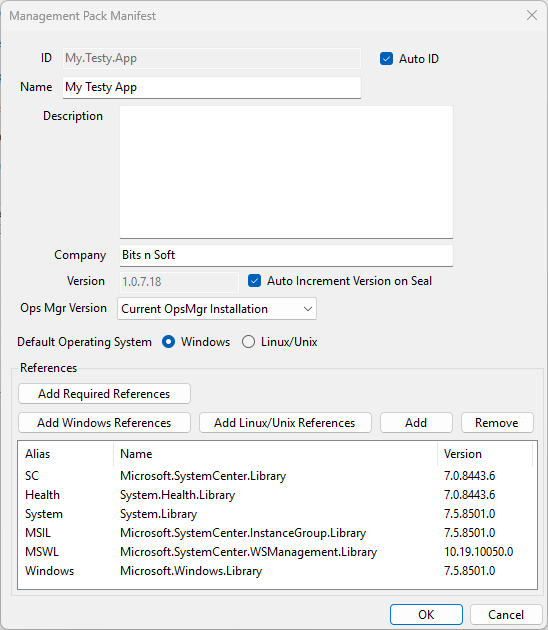
Required References are the basic references that YAMPAT needs for many of the UI elements to function. It consists of the core System Center Library, Health Library, System Library, Instance Group Library, and WSMan Library.
Windows References consist of just the standard Windows Library.
Linux References consist of the Unix Library and Shell Command Library. Neither are included with YAMPAT or VSAE, but are available in the SCOM iso, or can be downloaded directly from Microsoft. It is recommended to always download the latest versions from Microsoft.
Clicking any of those three options will automatically insert them into the pack.
Clicking Add will allow you to add additional references from the Reference Store (see that section of this document for more details).
Clicking Remove will remove the selected reference from the pack.
The Default Operating System selection is only to tell YAMPAT which default options you prefer in certain menus when you have a pack with both Windows and Unix elements.
View Raw XML
This option will show the raw XML dialog. It is not recommended to change the raw XML here, but it can be done. Making changes to the raw XML will cause the pack to reload the UI.
Seal
This option will Seal the Management Pack and output the mp file store it with the xml and yampat files. If a key file does not exist, YAMPAT will automatically create a key file and store it there also.